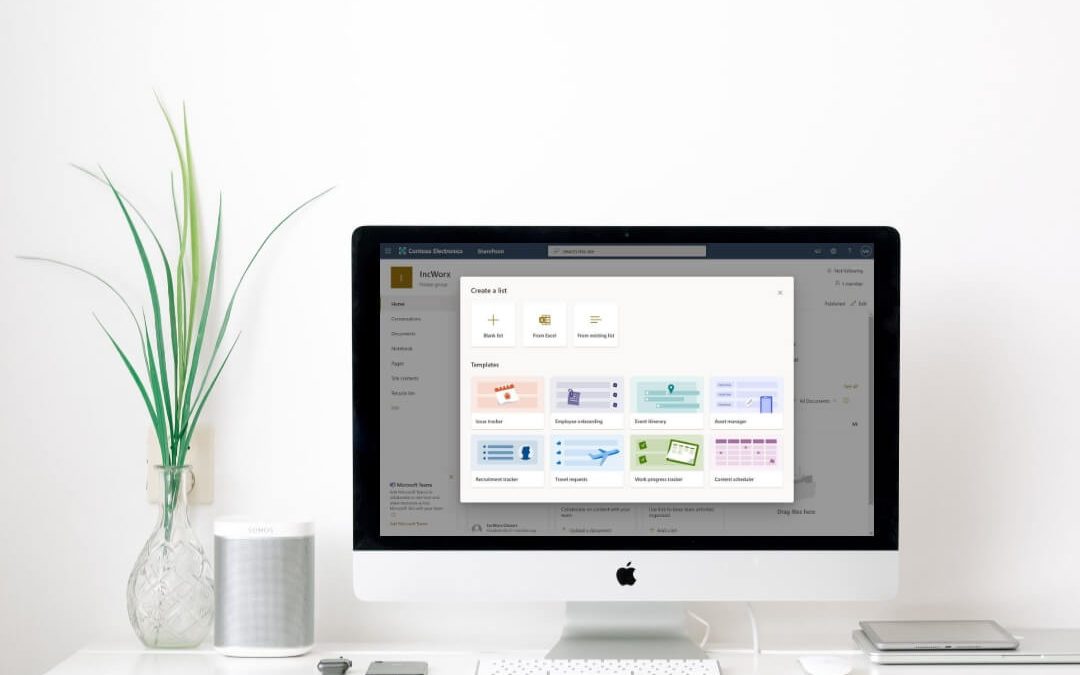
Ever since its inception, lists have been one of the core functionalities of SharePoint, helping users organize information. Knowing how to create a SharePoint list is one of the most important steps in using SharePoint. With the aid of templates, such as Calendar and Tasks, a SharePoint list or library can take many forms, shapeshifting to meet the needs of its users.
Learning how to create and use a SharePoint list or library is one of the core skills necessary to master SharePoint or SharePoint Online and increase collaboration across your organization.
Below you will find the steps to create a list in SharePoint or SharePoint Online.
Permissions
Across all versions of SharePoint, users will need at least Edit permissions to create and manage a SharePoint list or library. You can review assigned permissions in the List Settings by clicking the gear icon.
How To Create A SharePoint List
If you’re ready to get started, we’ve outlined the steps to create a list in Modern and Classic SharePoint. Each is similar but unique. Keep reading to get started.
Create A Modern SharePoint List
You will build a modern SharePoint list if you use one of the following SharePoint versions:
- SharePoint Online
- SharePoint Server 2019
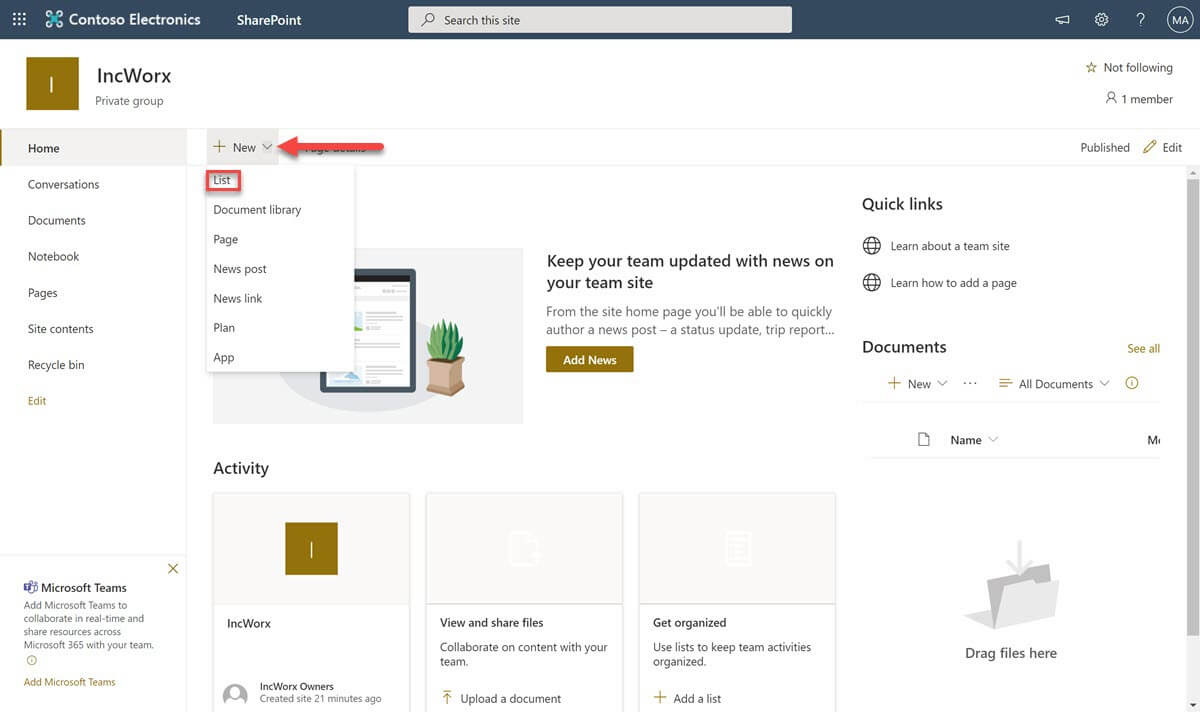
To get started, from a page on your SharePoint site, click on the + New dropdown menu and select List to create a new list.
On the Create a list popup, you have the option to create a list from multiple sources:
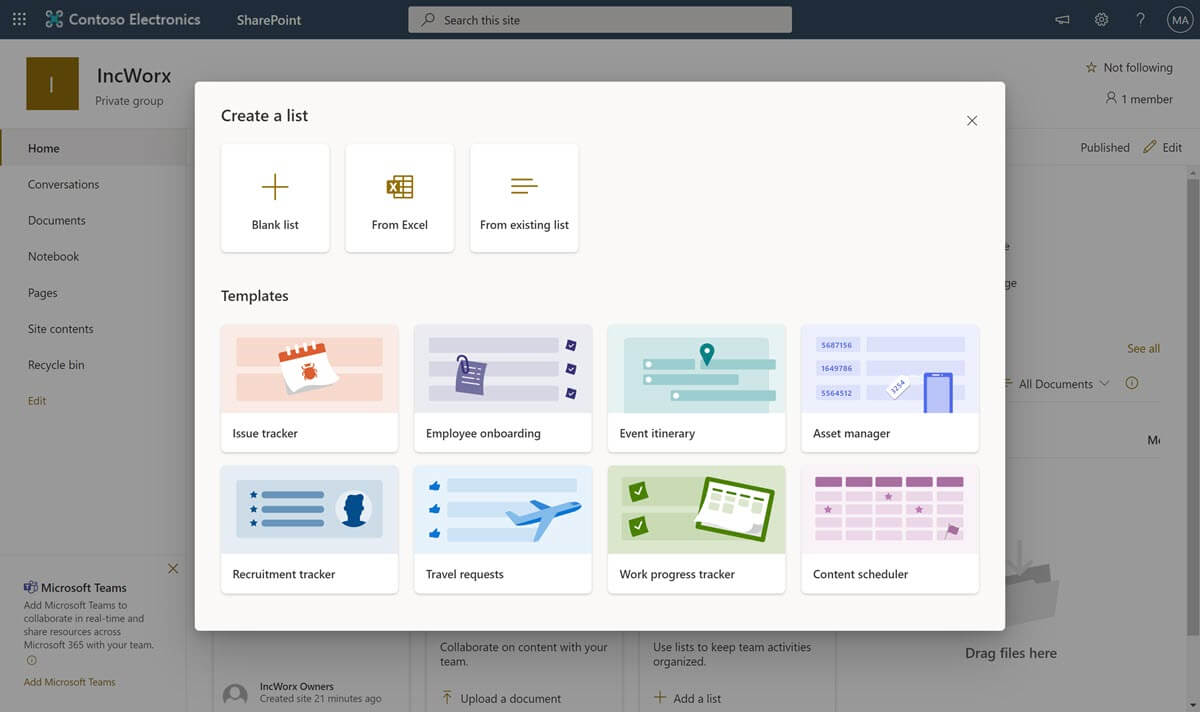
Blank List
A new list with only a Title column will be created. This will serve as a launching point for a custom list that can then be built to suit your needs.
From Excel
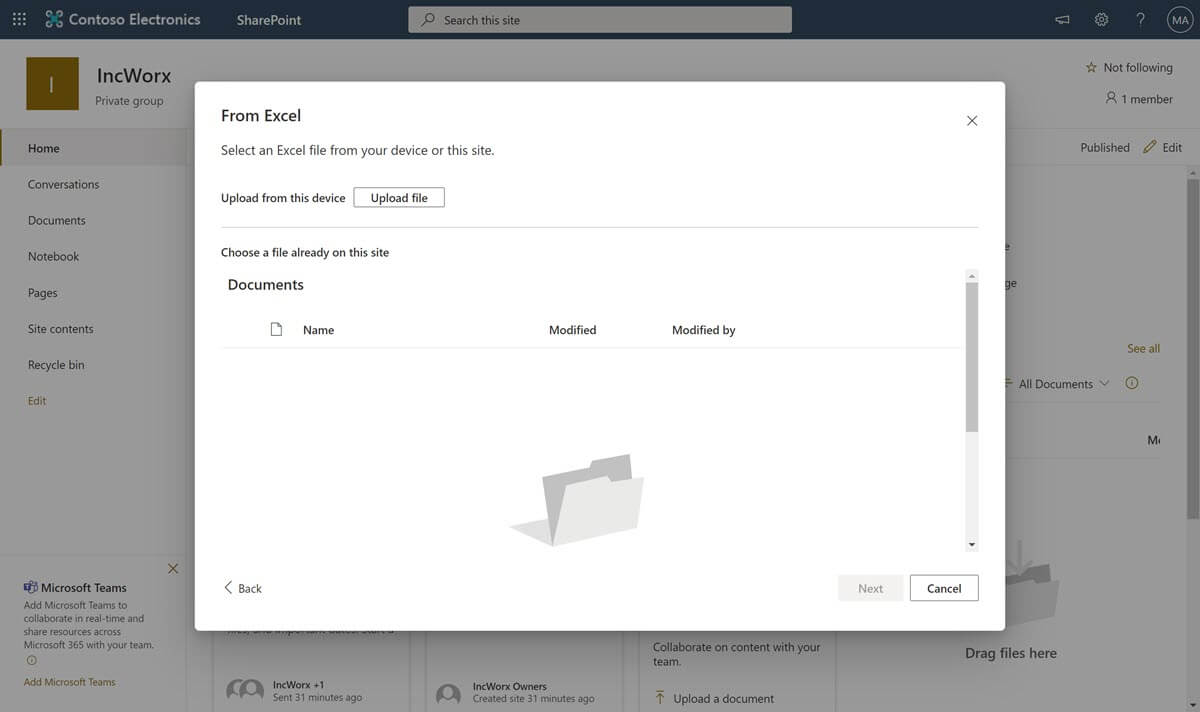
This option allows you to upload an Excel file from your PC or select an Excel file already uploaded to your SharePoint site to use as a base for your SharePoint list. SharePoint will pull in the existing columns and data from your spreadsheet, so you don’t need to duplicate data entry efforts.
For the import to successfully complete, your Excel data must be formatted as a table.
From Existing List
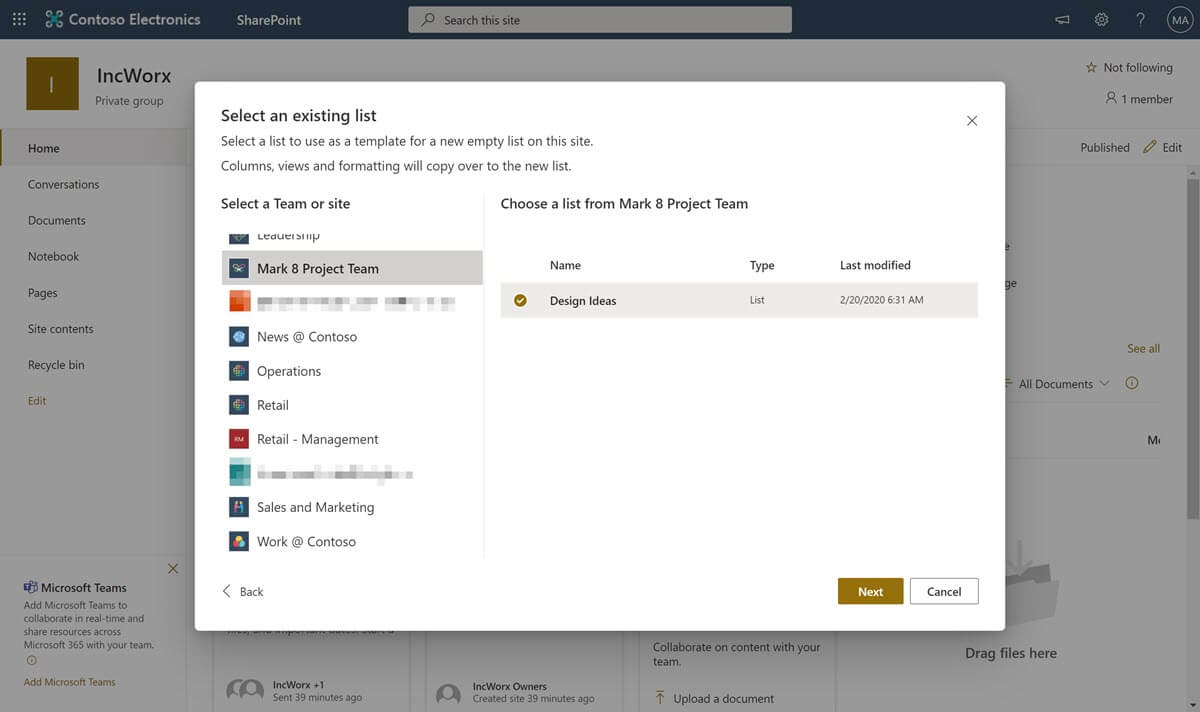
If there is an existing list in your SharePoint environment that has the columns you want in your new list, you can use it as a template. It is important to note that this option will copy columns, views, and settings from the original list, but it will not copy over individual list items.
Templates
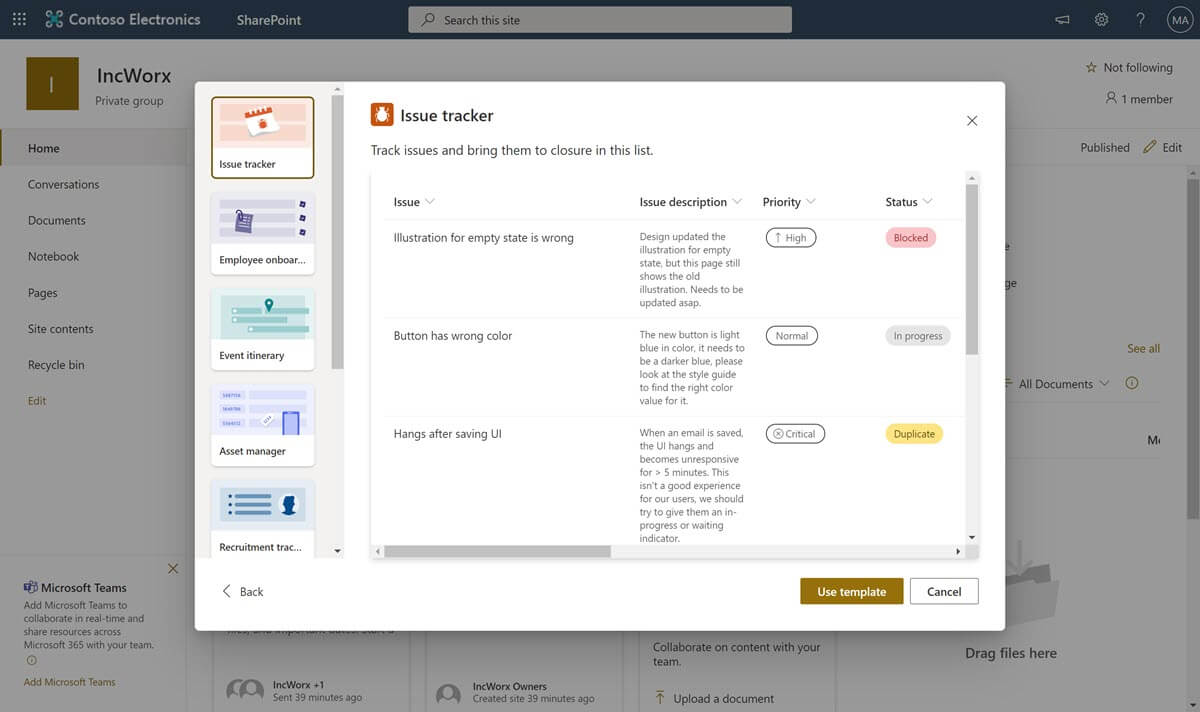
Various modern templates exist to help users quickly create a list in SharePoint to cover common business scenarios. By clicking on each template, you can see what columns would be included, their formatting, and what the list will look like with sample data.
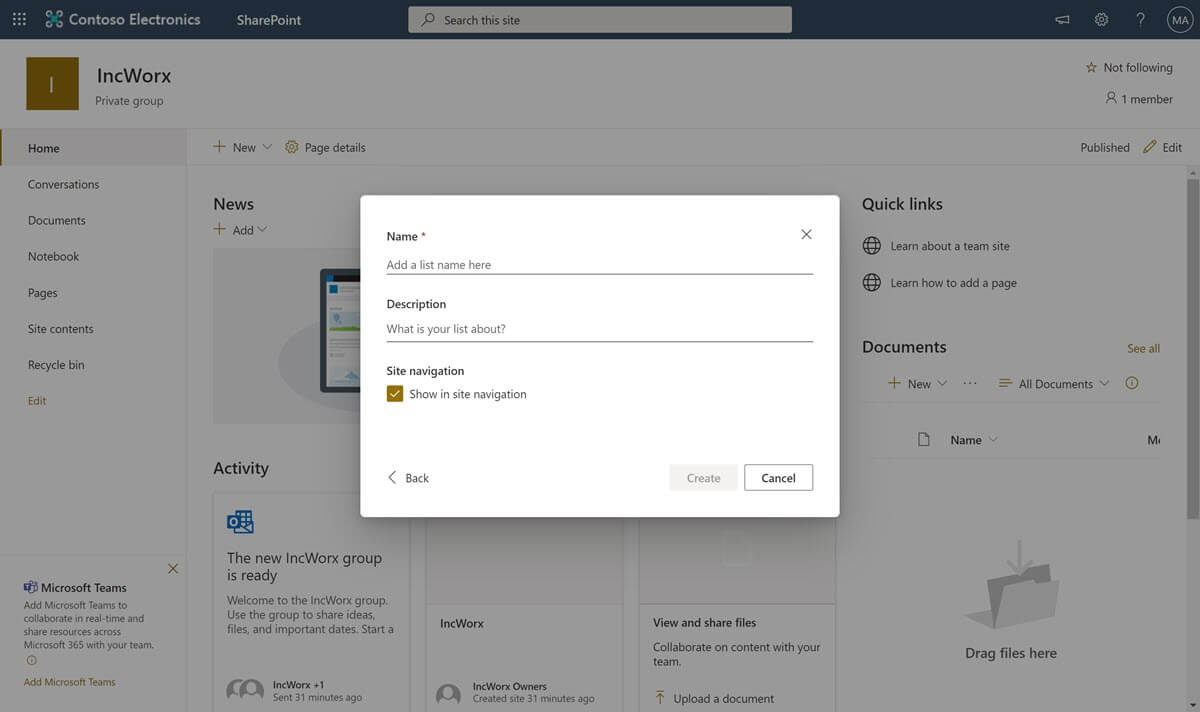
Once you have chosen the type of list you want to create, you will need to enter a name for your new list. Optionally, you can add a description to help users understand the purpose of the list. There is also a checkbox that lets you decide if you want the list automatically added to the site’s navigation menu. Please note, if you don’t check this box, you can always go back and add it later.
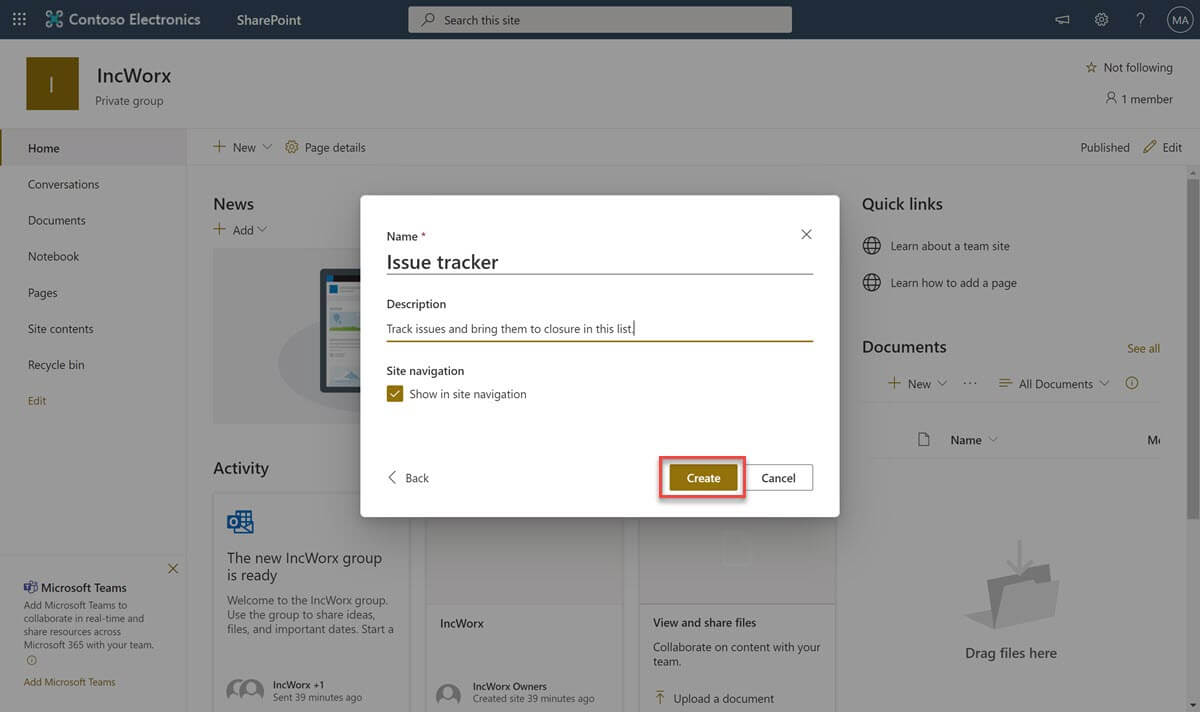
Click the Create button at the bottom of the form and your modern SharePoint list is ready to go.
Create A Classic SharePoint List
You can build a classic SharePoint list if you use one of the following SharePoint versions:
- SharePoint Online
- SharePoint Server 2019, 2016 and 2013
![]()
SharePoint Online and SharePoint Server 2019
![]()
SharePoint Server 2016 and SharePoint Server 2013
Next, on the Your Apps page is a selection of all the list and library templates available within your site, including any custom templates created by users.
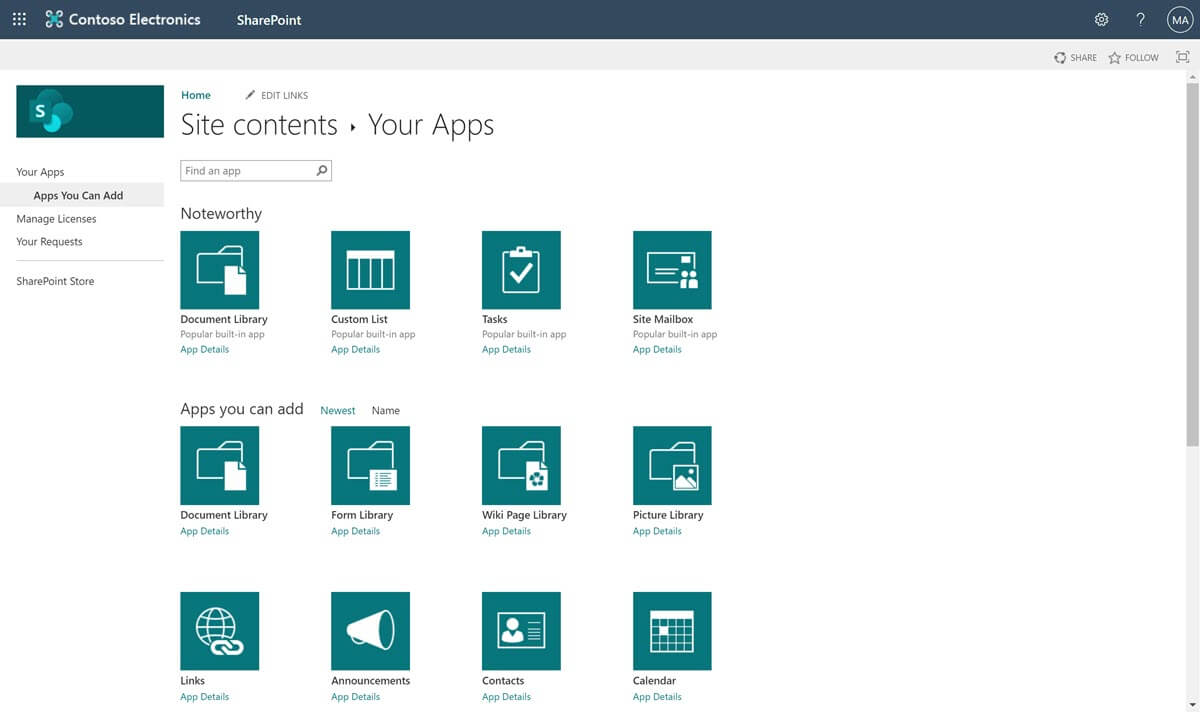
If you are unsure of the purpose of a template, you can click on the App Details page beneath it, and a new page with a description of the template will load.
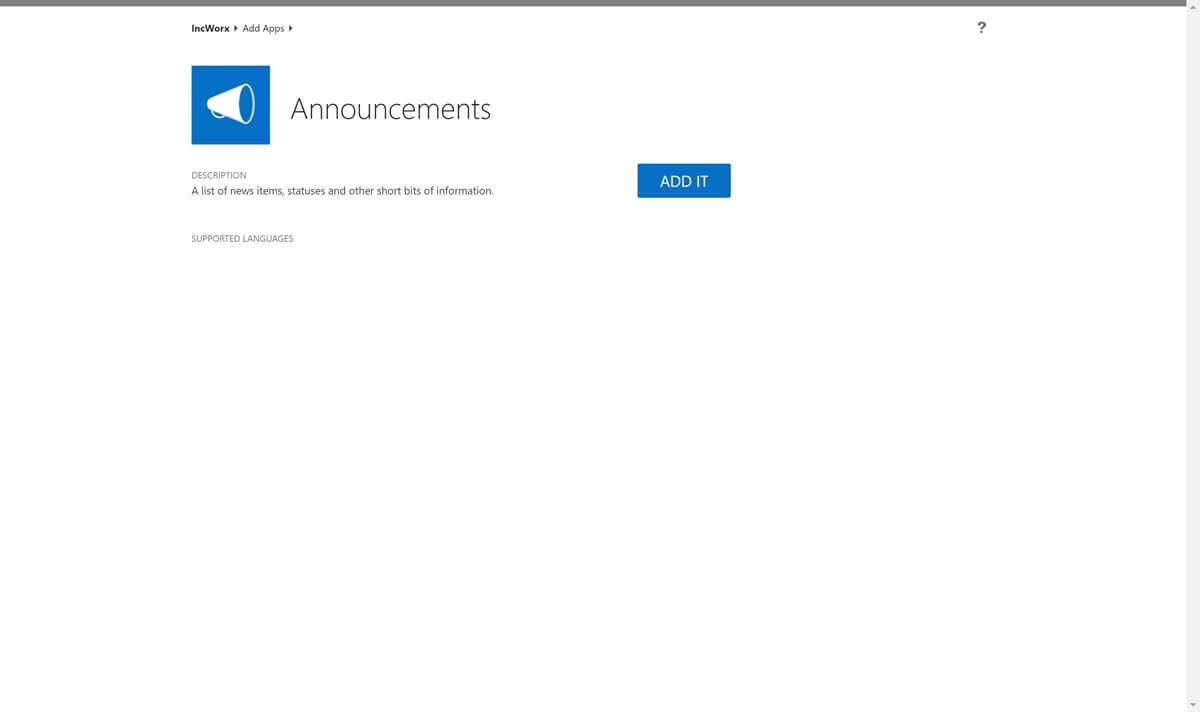
Once you have decided on a template, click on its tile to add it.
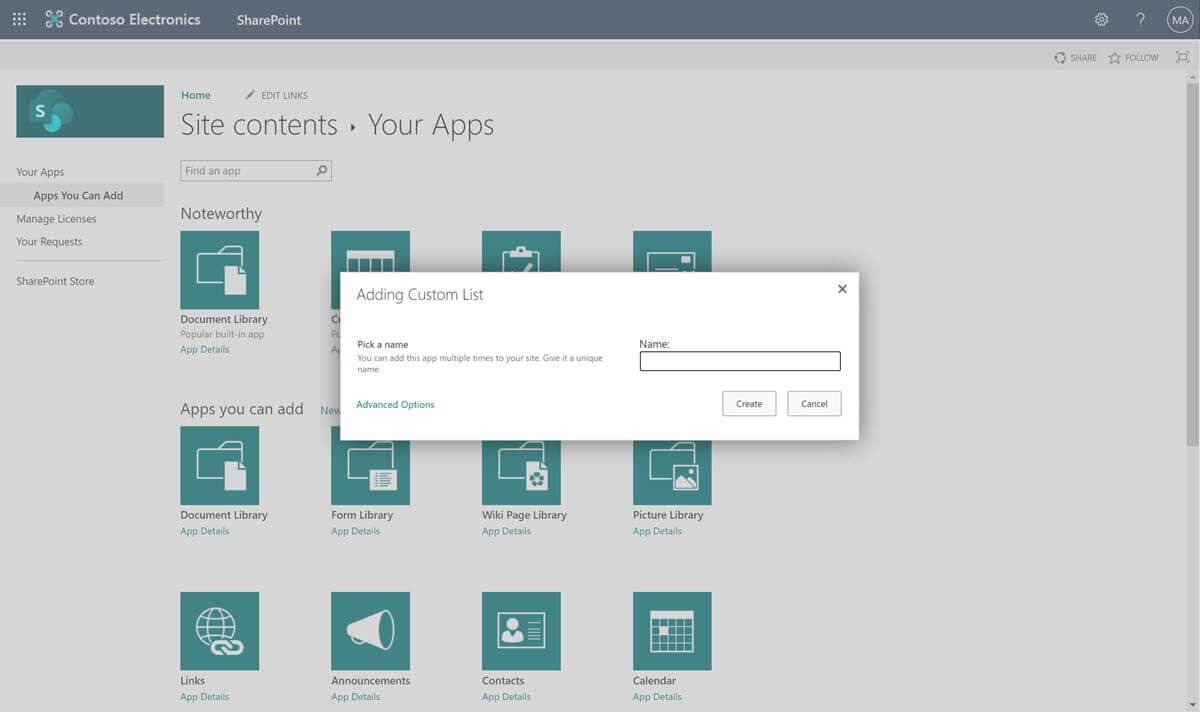
From the popup, you can either enter a list name for your new list and click the Create button, or you can click on the Advanced Options link. The Advanced Options link will allow you to add a list name, description of the new list. This can also be done later after the initial list creation by clicking on the gear icon and going to List Settings.
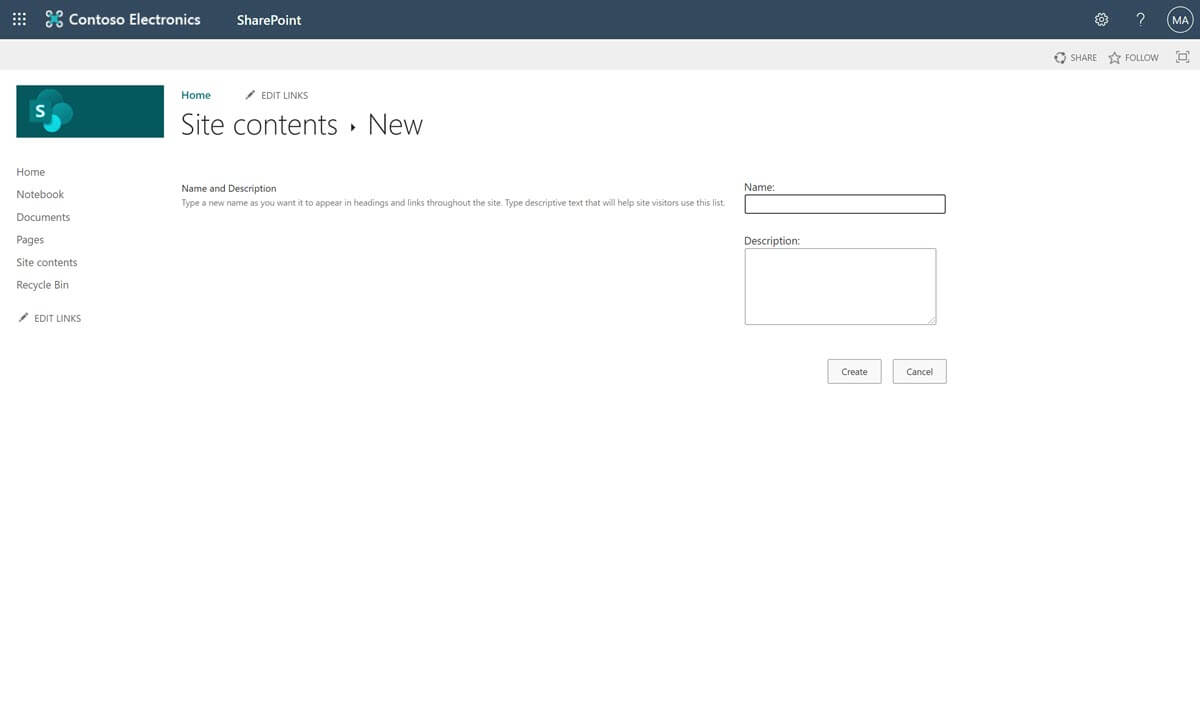
Finally, click on Create at the end of the form and your SharePoint list is ready to go.
Create a Custom List
Have a unique or specific set of fields you want to you in your list? If so, you can create a custom list. A custom list will allow you to populate each field of your list based on your data needs. To create a custom list follow the same steps as above. When you reach the “Create a list” screen, choose “Blank list”. Your custom list in SharePoint can then be built field by field to match your needs.
What More Can You Achieve Once You Learn How to Create a List?
And that’s all there is to it! How can your organization benefit from a SharePoint list?
If you are still in the infancy stages of your SharePoint or SharePoint Online deployment and want assistance training your users on SharePoint basics, check out our End User Support Services!
