This post demonstrates the display a SharePoint Google map full of SharePoint list items using JSLink and the Google Maps JavaScript API.
We will create a new custom list named Companies in the following steps. The Title field will hold the company name and a new column called Location will hold the company address information.
We will use a Content Editor Web Part placed above the list view as the container for the map. JavaScript will be used to call the Google API for generating the map, obtaining the geolocation of each list item’s location, and adding the markers to the map.
JSLink associates the JavaScript with the list view executed client-side during the list view’s rendering process (client-side rendering).
Prerequisites
Google Maps API Key – if you want to follow along and implement the solution on your own you will need an API key from Google.
Versions
SharePoint 2013, Office 365*
*JSLink is not supported in the Office 365 modern site experience. Microsoft recommends SPFx when developing custom solutions for modern sites.
Disclaimer: The solutions in this series are not intended to provide complete, best practices, or suitable solutions, but are designed to demonstrate possibilities and provide you with examples you can begin to build upon.
Do not attempt exercises in a production environment. Any use of the information contained in this article is strictly at your own risk. If you need additional SharePoint support or advisory hours, please don’t hesitate to contact us. We’re here to help you get the most out of SharePoint.
Step By Step Guide to Create a SharePoint Google Map
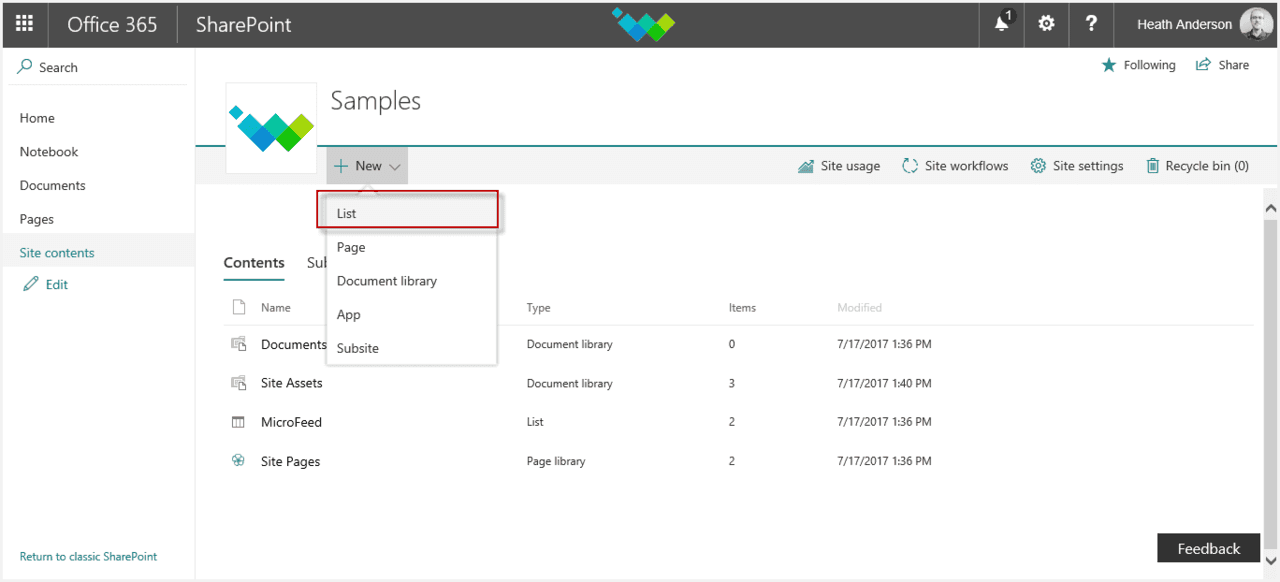
Step 1: Create New “Companies” List
Go to Site Contents, click New and choose List.
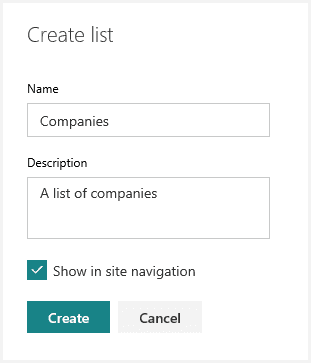
Step 2: Name the “Companies” List
Name the list “Companies” and click the Create button.
Step 3: Add A New Column
Add a new Single line of text column.
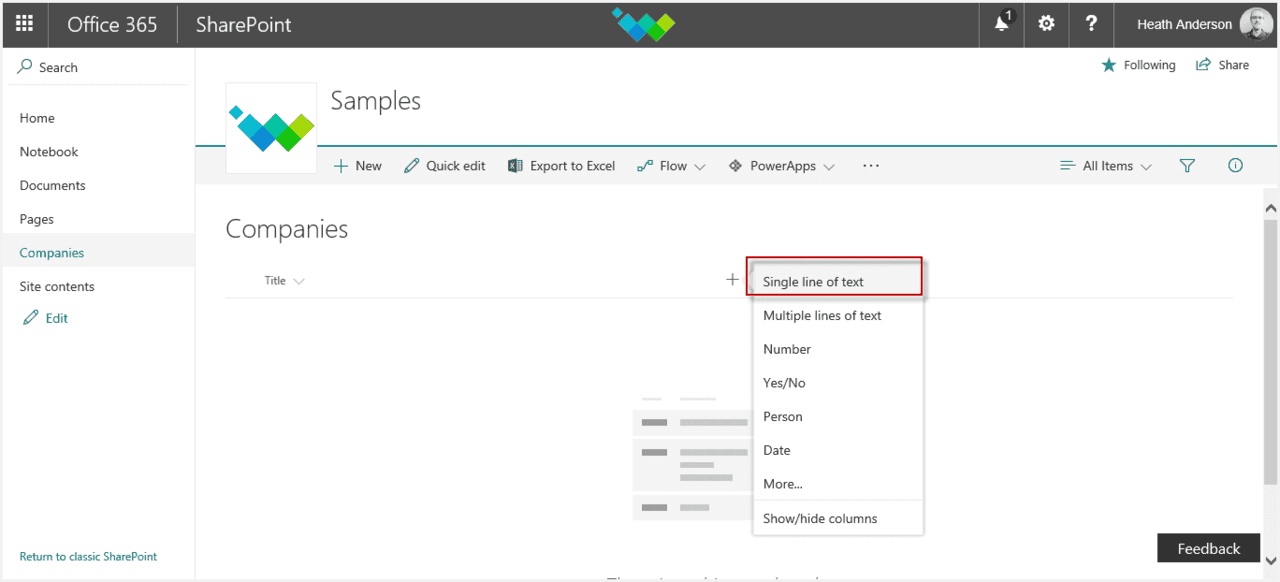
Step 4: Create “Location” Column
Name the column “Location” and click the Create button.
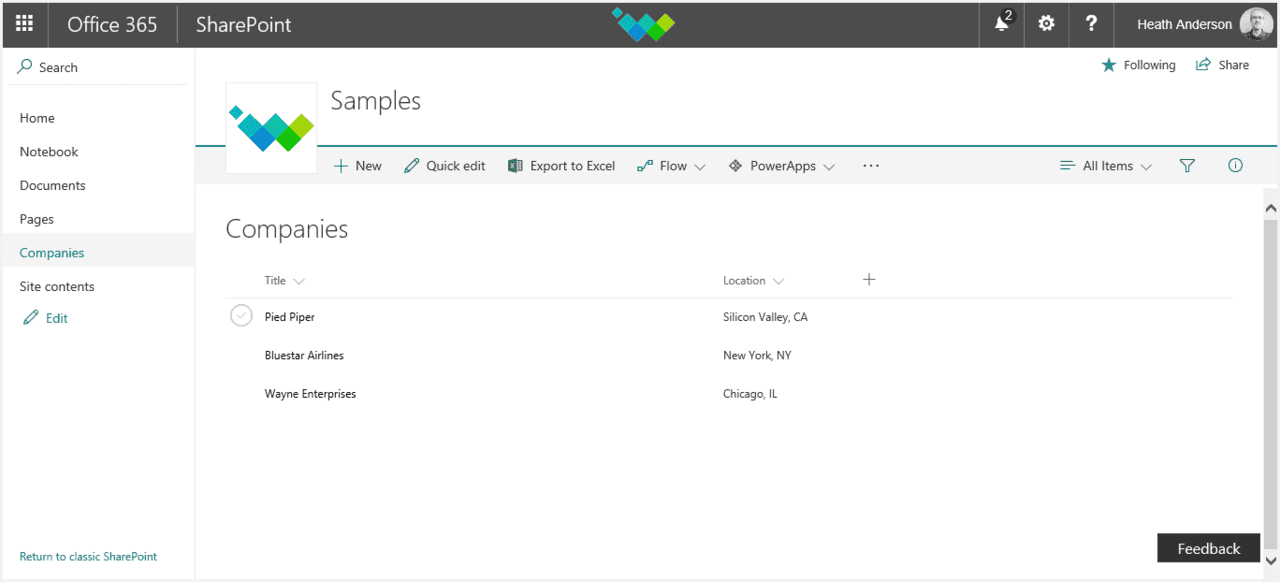
Step 5: Populate “Companies” List
Populate the “Companies” list with sample company names and locations.
Step 6: Create JSLinkMapView.js File
Using your favorite editor create and save a file named JSLinkMapView.js and add the following code.
Note: be sure to enter your own Google API key!
document.write(‘<script type=”text/javascript” src=”https://maps.googleapis.com/maps/api/js?key=<<your google api key here>>“></script>’);
function RegisterCustomOverrides() {
var obj = {};
obj.Templates = {};
obj.Templates.OnPostRender = LoadMap;
SPClientTemplates.TemplateManager.RegisterTemplateOverrides(obj);
}
function LoadMap(ctx) {
var mapOptions = {
center: new google.maps.LatLng(42, -88),
zoom: 6
};
var map = new google.maps.Map(document.getElementById(“map-canvas”), mapOptions);
var geo = new google.maps.Geocoder();
var bounds = new google.maps.LatLngBounds();
var rows = ctx.ListData.Row;
var idx = 0;
for (var i = 0; i < rows.length; i++) {
geo.geocode({‘address’:rows[i][“Location”]},function(results, status) {
new google.maps.Marker({map: map, position: results[0].geometry.location, title: rows[idx++].Title});
bounds.extend(results[0].geometry.location);
map.fitBounds(bounds);
});
}
}
RegisterModuleInit(“/SiteAssets/JSLinkMapView.js”, RegisterCustomOverrides);
RegisterCustomOverrides();
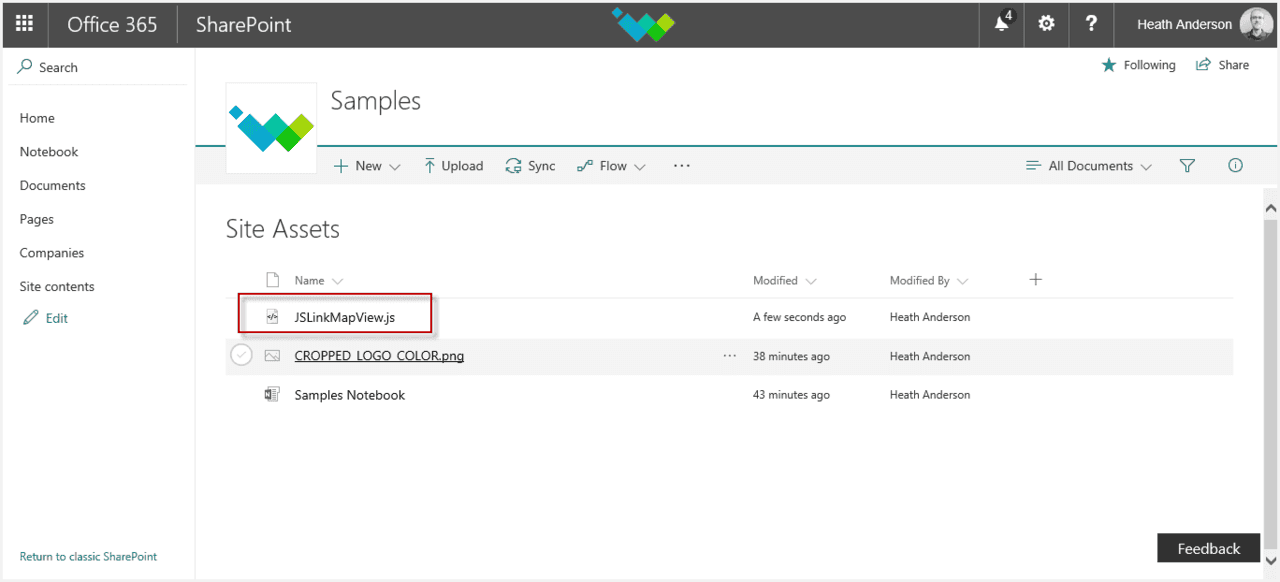
Step 7: Upload JSLinkMapView.js File
Upload the JSLinkMapView.js file to the Site Assets document library of your site.
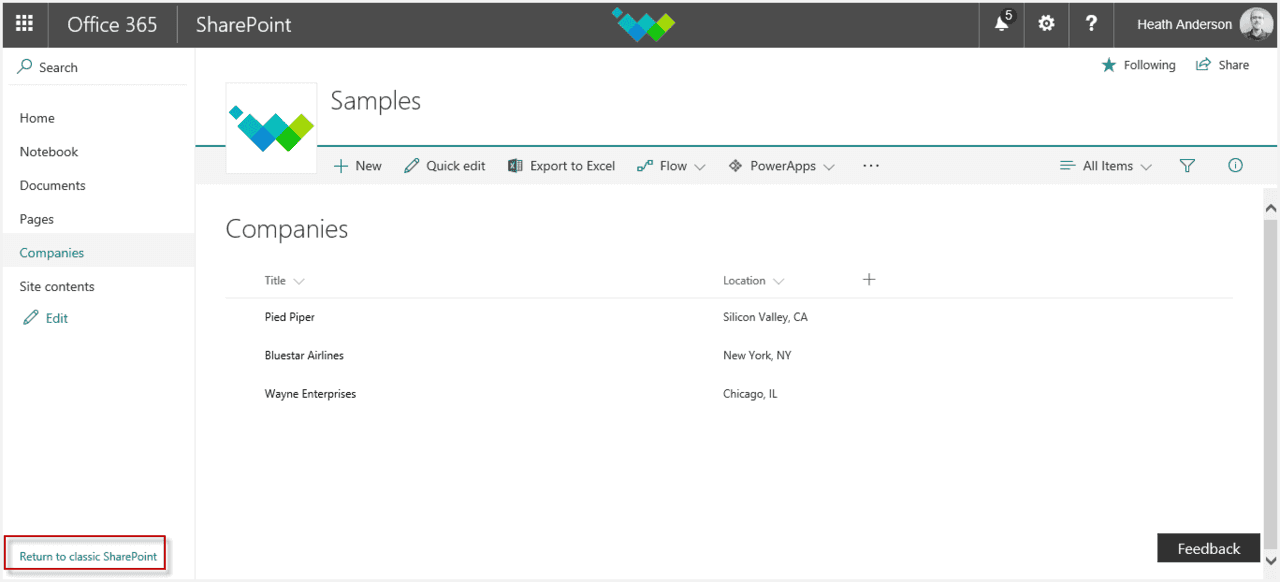
Step 8: Change View to Classic SharePoint
Return to the “Companies” list and click Return to classic SharePoint.
Note: At the time of this writing Microsoft’s new “modern pages” do not support many of SharePoint’s customization features including JSLink.
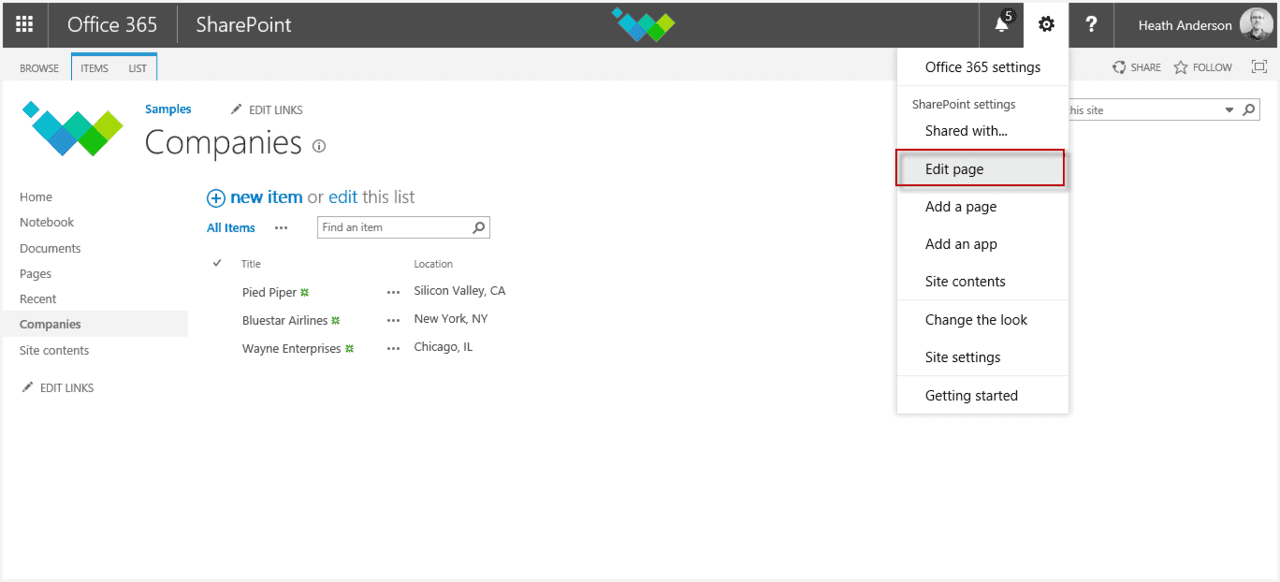
Step 9: Edit The SharePoint Page
From the Site Actions menu choose Edit Page.
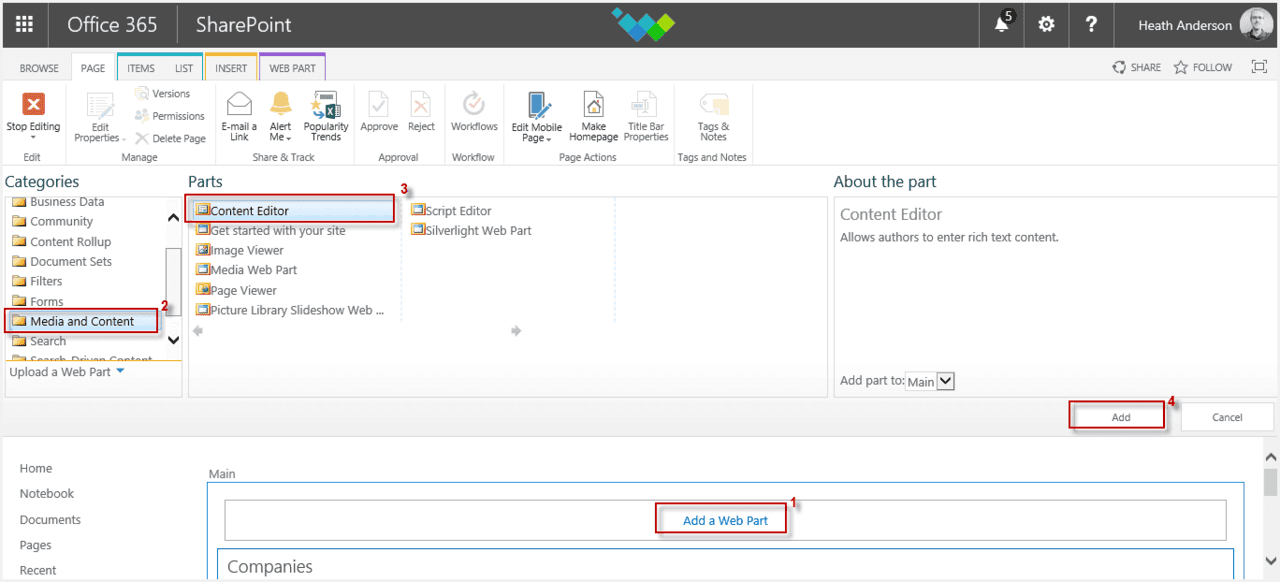
Step 10: Add A Content Editor Web Part
- Click Add Web Part
- Choose Media and Content
- Choose Content Editor
- Click Add
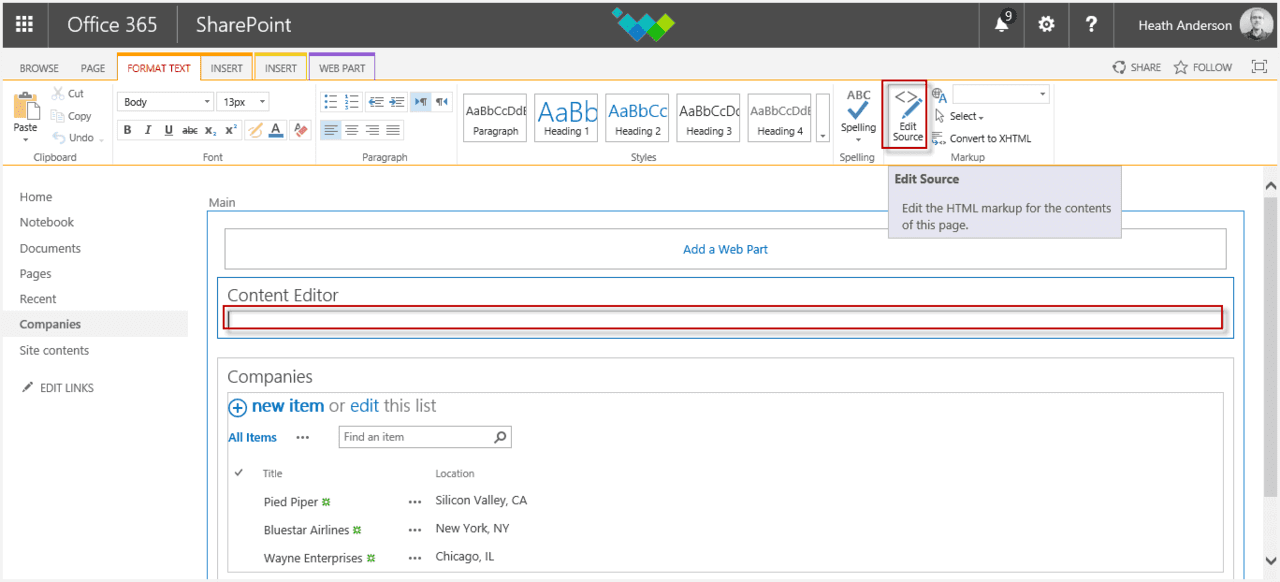
Step 11: Edit The Content Editor Web Part Code
With the Content Editor Web Part now added above the list items, click to edit the web part and activate the ribbon options, then choose Edit Source.
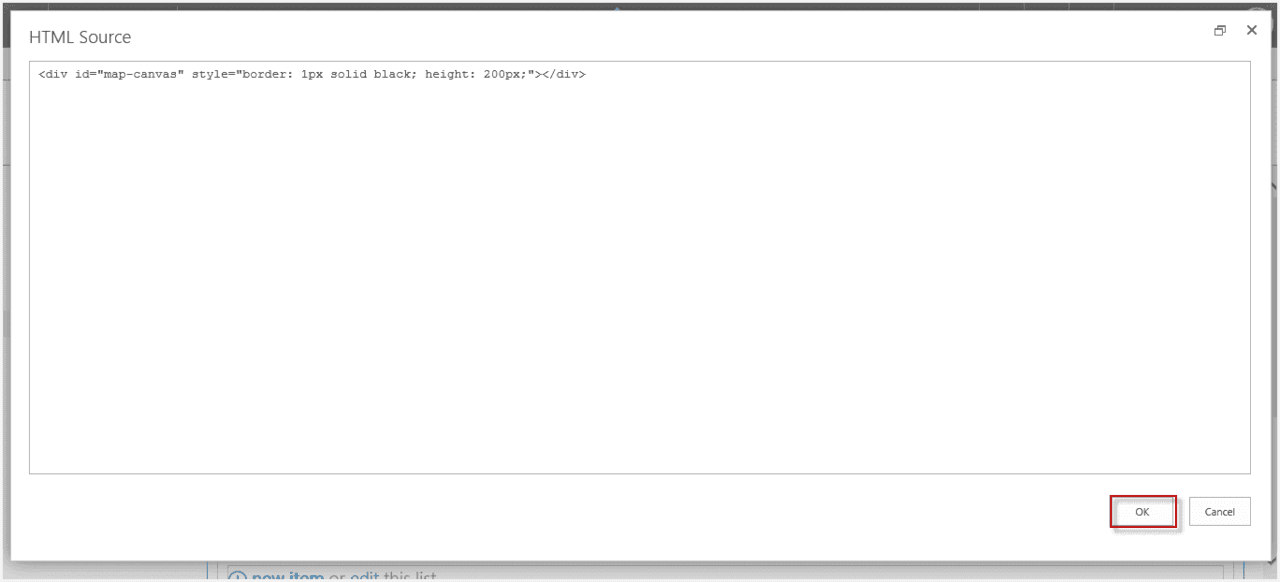
Step 12: Create Container for Google Map
Paste the following in the Content Editor Web Part Source window and click the OK button. You have now created the container for the Google map.
<div id=’map-canvas’ style=’border: 1px solid black; height: 200px;’/>
Step 13: Edit Google Map Container
Click Edit Web Part from the list view web part’s context menu.

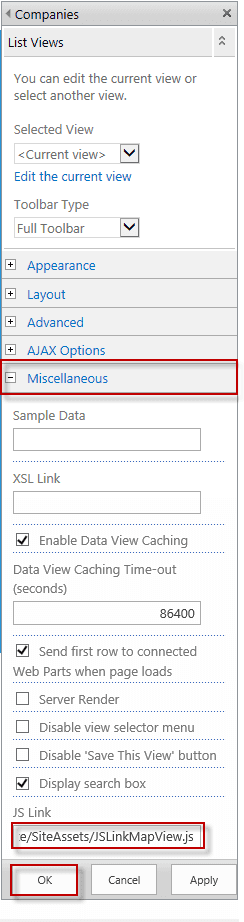
Step 14: Update Miscellaneous JSLink Field
Expand Miscellaneous and paste the following in the JSLink field and click OK:
~site/SiteAssets/JSLinkMapView.js
Step 15: Finish Up Editing
Click the Stop Editing button on the ribbon.
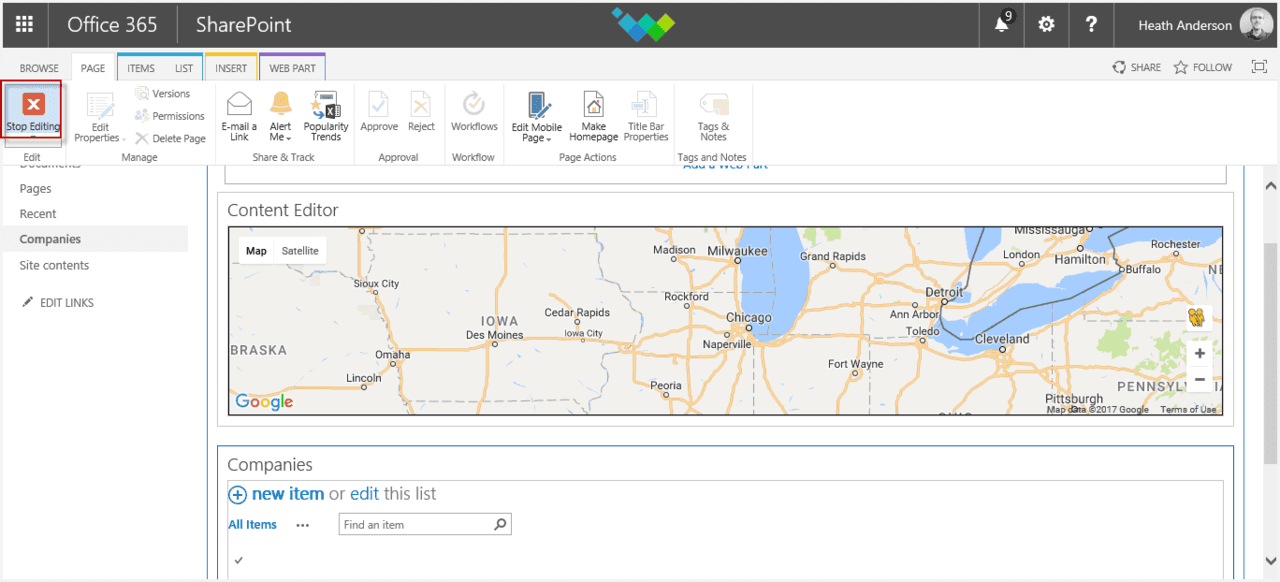
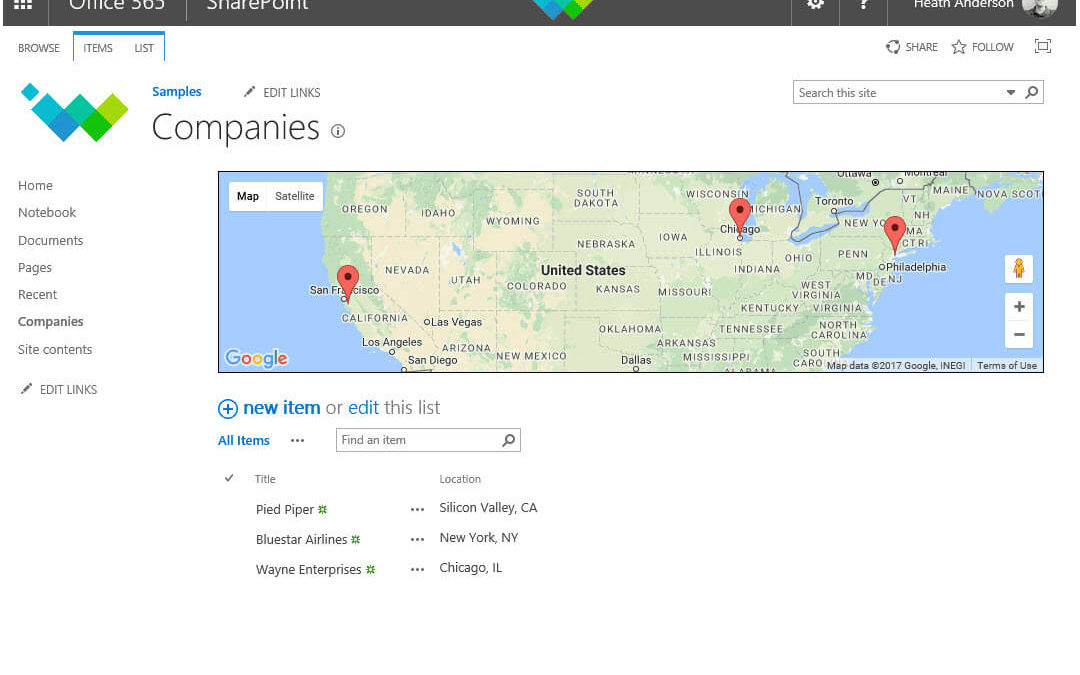
View SharePoint List Items on a Google Map!

I hope you’ve enjoyed this brief introduction to JSLink. Thanks for reading!