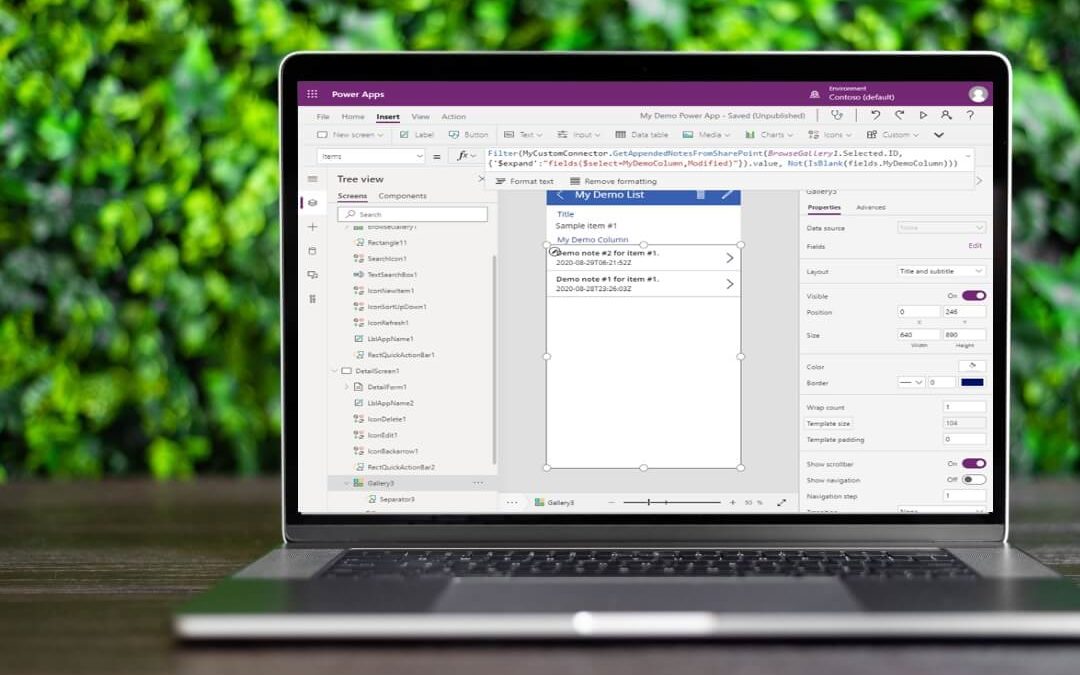
Learn How to Retrieve Appended Notes of a SharePoint List Item in Power Apps via the Microsoft Graph API and Without Using Power Automate/Flow.
SharePoint offers the ability to append notes/comments to a list item. When enabled on a multi-line text column, each time content is entered in the field and saved, the field’s contents are captured and stored along with the author and timestamp. This offers the ability to view a trailing history of what was entered in the field.
At the time of this writing (September 2020), Power Apps, unfortunately, does not offer a built-in method of retrieving and displaying the appended notes from SharePoint. Other articles currently exist that demonstrate the use of Power Automate for doing so, but there is another option.
This article offers an alternative method whereby the Microsoft Graph API is called directly from Power Apps to retrieve the appended notes from SharePoint.
Step 1: Create and Configure Your SharePoint List with Appended Notes
The first section of the guide will cover creating the SharePoint list with “Append Changes to Existing Text” enabled. If you already have a list that contains this functionality, feel free to skim through this section or skip it altogether.
- Create a New SharePoint List
- Enable Versioning on the SharePoint List
- Add a Multiple Lines of Text Column
- Enable “Append Changes to Existing Text”
- Add a List Item and Append Notes for Testing
Step 2: Assign App Permissions for Calling the Microsoft Graph API
Section 2 will walk you through using the Azure portal to register an app for accessing the Microsoft Graph API. This step is necessary because you will be using the Graph API to retrieve the appended notes from the SharePoint list you previously created, and you must grant permissions for doing so.
Step 3: Use Graph Explorer to Test Calls to the Microsoft Graph API
Now that your SharePoint list is created and all of our App Permissions are in place, we will walk you through using Graph Explorer to test calls to the Microsoft Graph API for retrieving a list item’s appended notes. You will use the response from the call when creating the Power Apps custom connector in a later step.
Step 4: Create a Custom PowerApps Connector for Calling the Microsoft Graph API
The fourth section of our guide is all about creating the custom PowerApps connector that is required for using the Microsoft Graph API to connect to SharePoint. We will walk you through all of the settings required to ensure your App runs smoothly and – most importantly – is secure.
- Create a Custom PowerApps Connector
- Configure General Settings
- Configure Security Settings
- Assign a Redirect URL Through App Registration
- Configure Definition Settings
- Test the Custom PowerApps Connector
Step 5: Create Your PowerApps Canvas App to Display Your SharePoint Appended Notes
In the final section of our guide, we will cover the steps necessary to create a PowerApps canvas app. When complete, the app will be capable of using Microsoft Graph API to pull the notes added to SharePoint and display them in the new Power App.
The guide will walk you through, step-by-step, 5 main tasks:
- Creating a Canvas App
- Testing Basic App Functionality
- Adding a Data Connection for Calling the Microsoft Graph API
- Displaying Appended Notes in a Gallery
- Saving Your App for Use
To make things easier, we created a PDF with screenshots. Download it below!
Looking for Additional Assistance with Power Apps?
You’ve come to the right place! IncWorx offers nationwide consulting and support services for Power Apps, SharePoint and other Microsoft technologies. Contact us today to learn how we’ve helped other organizations build mission-critical solutions with Power Apps.


